|
Sunday, 6 March 2005
I'm now starting to put dates in my text so I can remember when I was last working here.
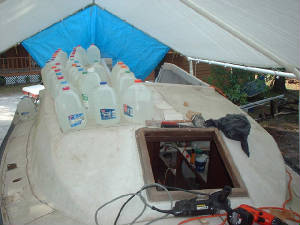
I've finally gotten the cabin top and topsides roughed in! This is exciting. I feel quite a bit of relief as I now plan
on moving ahead inside the cabin rather than muck about on the deck. Great, great. I still have to hollow out the seams with
the grinder and then layer in fibreglass and epoxy, but that's just moving ahead, not feeling as if there is no end to the
tunnel!
| Martha Stewart would be proud! |
|
| The cabin top is ON THE BOAT! |
Sunday 13 March 2005.
I have started to fill in the seams and build up areas which had previous damage. This is particularly so where the feet
from the bow pulpit pushed through the deck.
One biggish thing I did was take the toe-rails off the boat. They had been the sources of some irritating leaks and also
anytime I had to dangle my legs overboard, the rail caught me behind the knee and was seriously uncomfortable. (I also admitted
the boat would never be a racer and therefore having convenient places to attach snatch-blocks was not a priority. I think
the profile is improved. Photos to follow.
Sunday 27 March 2005
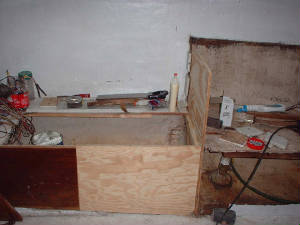
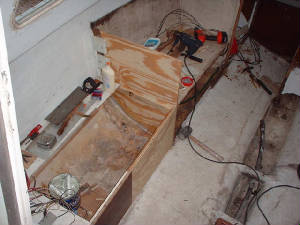
Roughed in the galley and quarterberth wood. Got a bit of a jolt when upon taking the bulkhead out and the piece of rotten
quarterberth, it appeared the hull had shifted slightly (about 1/4"). This came as I was dry fitting the new wood piece. In
looking back, I had water intrusion through the toe rail screw holes. These I have epoxied closed and the boat has gone through
another rain with no apparent water. Anyway, the water intrusion seems to have been the cause of my 'shrinkage'; actually
it was the wood expanding due to the water getting in!
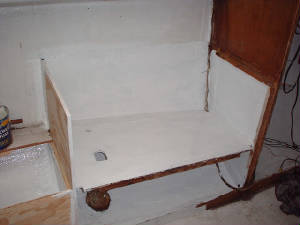
It's an exciting time, now that I have gotten some paint onto new wood rather than just pulling old rotten wood out of
the boat. The oil paint will add some nice gloss to the interior.
|
| GALLEY |
|
| QUARTERBERTH AND GALLEY |
|
| PAINTED GALLEY |
Deck and Cabin - redux
I've covered the cabin top and the fore-deck with biax cloth and epoxy. It looks great. This is a heavy
cloth but it wets out well. The edges are going to require me grinding them down. I used 80 grit on my orbital sander and
it barely made a dent. The new DeWalt grinder will do the trick. I am at a standstill as I am waiting on my supplier to get
another gallon of epoxy. One does go through a lot of epoxy doing a rebuild. I think I had budgeted 3 gallons and here I will
be going on to number 5! Photos are to follow - my teenager has absconded with the camera.
|